


- Description
- Reviews
- FAQs
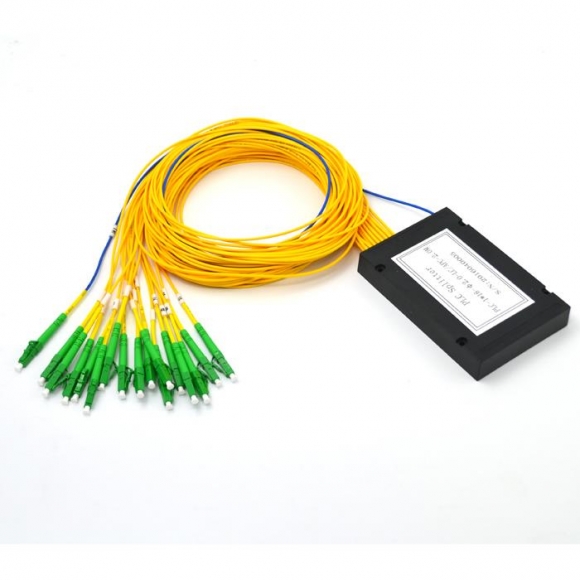
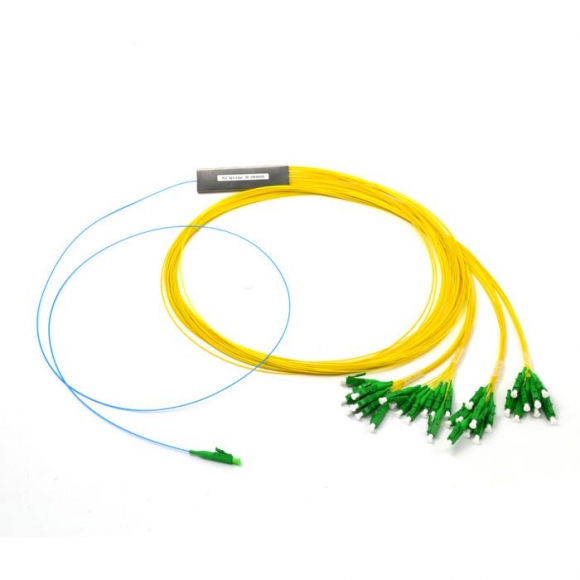
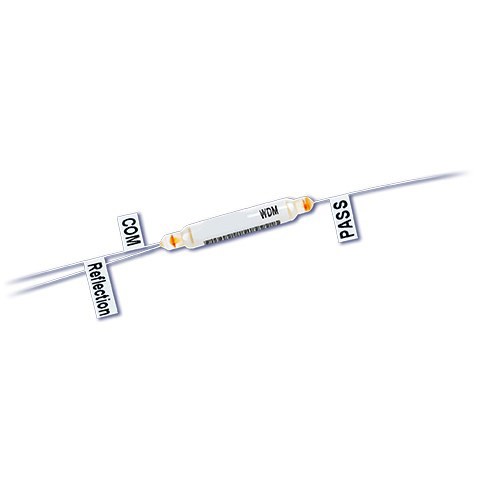
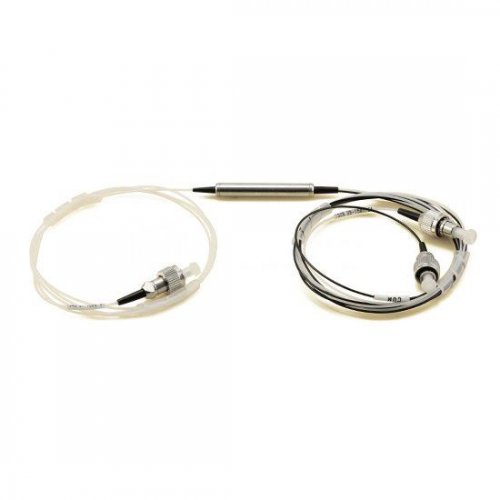
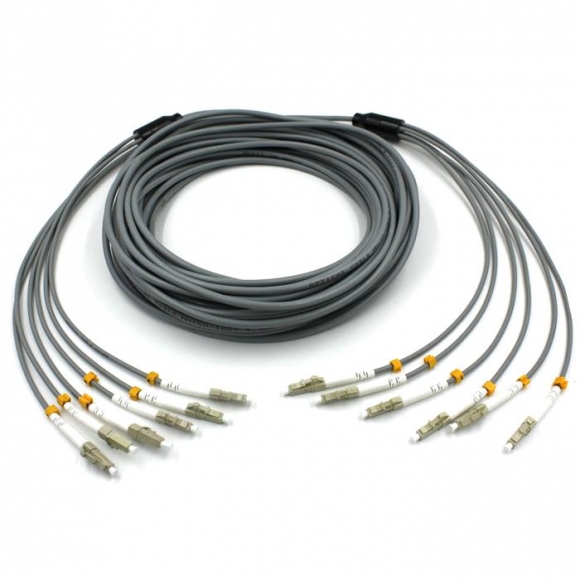
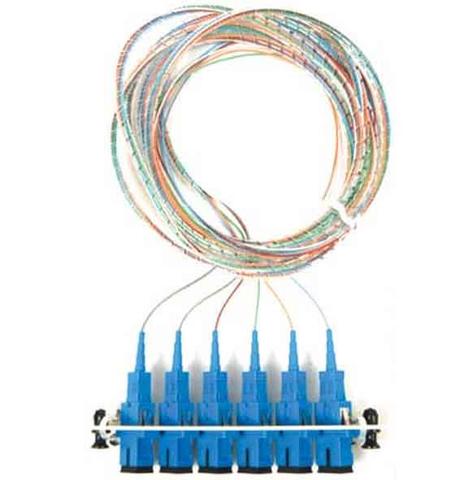
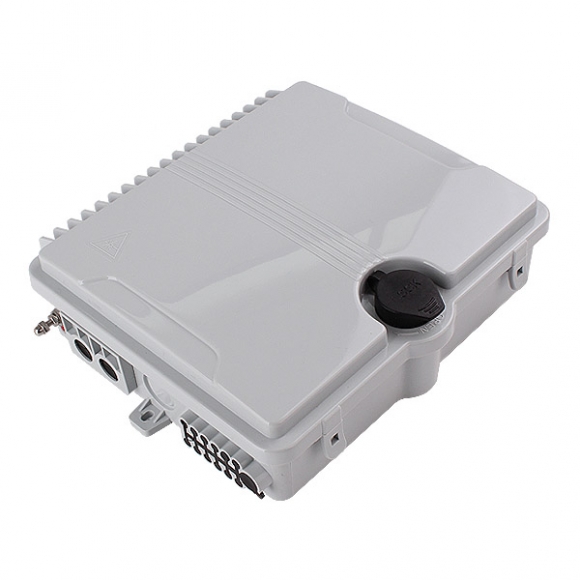
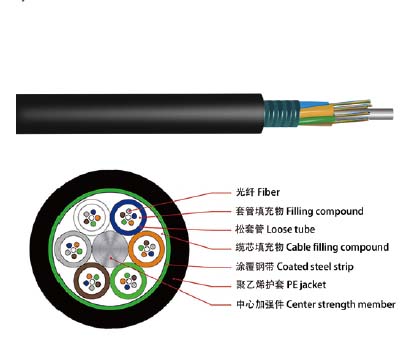
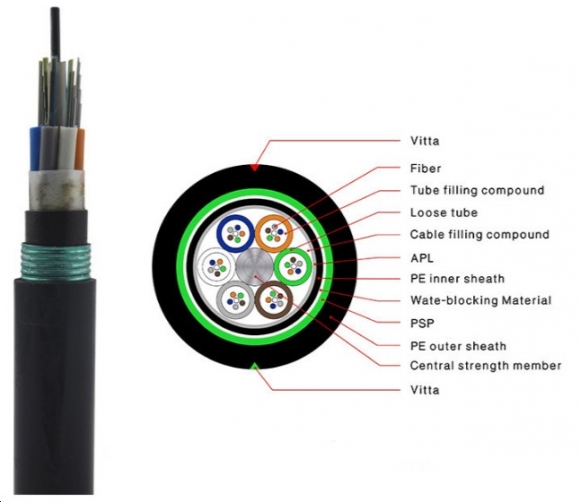
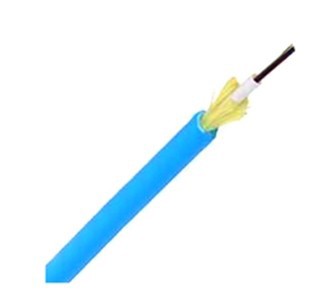
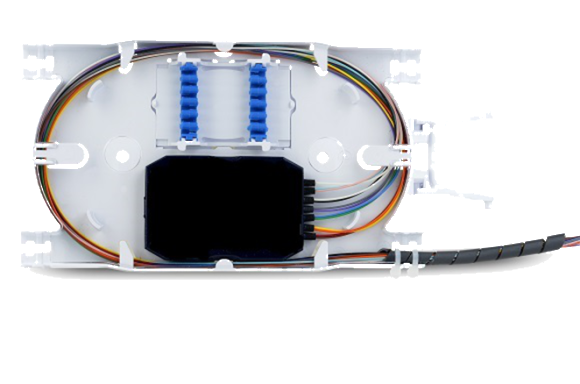
When we talk about CWDM Tray, it means the CWDM splcie tray but not the rack mount “CWDM Tray”. A CWDM splice tray is a fiber optic splice tray that can be integrated with CWDM components (e.g. CWDM MUX). The CWDM tray allows for easy integration in enclosures, wall-mount boxes, or Optical Distribution Frames (ODFs). A whole CWDM fiber optic splice tray integrated with CWDM has many advantages and applications. (A CWDM fiber optic splice tray is shown below.)
| Advantages: Consistent performance Low optical loss Low polarization sensitivity Excellent mechanical and environmental characteristics Fast installation and commissioning | Applications: CWDM upgrades in metro networks Increase the capacity between the central office and the headend in HFC networks CWDM overlay in PON architectures Cell Site Backhaul CWDM components based on Thin Film Filter (TFF) technology |
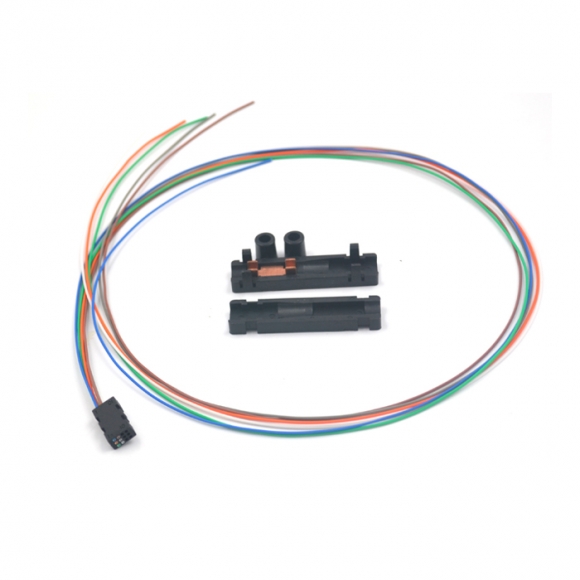
However, the CWDM fiber optic splice trays are generally provided without CWDM components. So, we need to install CWDMs into the splice trays. Here are some steps for installing CWDM into fiber optic splice tray:
- 1. Placement of the module or cassette into the splice tray will be dependent upon the dimensions of the product being used. It is important to follow industry standards set for bend radius.
- 2. Clean the back of the module or cassette with a premoistened alcohol wipe to remove any dirt or oils. Repeat the process at the location on the tray that the module or cassette will be installed.
- 3. Peel the liner off one side of the black hook and loop that is provided for you in the kit and place it on the back of the module or cassette. Press firmly for several seconds. Remove the other piece of liner and place the module or cassette in the appropriate place on the tray. Press firmly for several seconds to ensure proper adhesion.
- 4. When the installation of the module or cassette has been completed, determine best placement for the splice insert.
- 5. Clean tray with alcohol wipe prior to placing the insert on the tray. Once the area is clean, remove the adhesive backing from the insert and press down on the tray, holding firmly for several seconds to ensure adhesion to the tray.
Note: Carefully follow health and safety environmental instructions for the isopropyl alcohol. - 6. Route CWDM fiber tails and splice fiber into inserts.
Compared with CWDM fiber optic splice trays, there are also DWDM fiber optic splice trays which are designed to be integrated with DWDM components (e.g. DWDM multiplexer). And the installation for DWDM trays is the same as CWDM’s.
- Customers Reviews
-
 (0)
(0) (0)
(0) (0)
(0) (0)
(0) (0)
(0)
* Delivery Time.
We need 1-2 days to process your order before shipping. There are two shipping methoed.
Fast Delivery: The delivery time for US, European countries the delivery will take 3-5 days.
Slow Delivery: The delivery time for US, European countries the delivery will take 7-15 days.
* Tracking information.
After we ship package, customer receive automatic email with tracking details.
* Lost Package Policy.
If a package did not arrive in 2 weeks after the shipping date, then this package is treated as Lost. In this case a new package will be shipped to the customer provided we are able to give the same items as those purchased by the customer. If we are not able to provide the same items to substitute the lost ones we will either propose to the customer similar items or refund their cost as it will be mutually agree with the customer. If one or more items neither the same nor similar are available to be shipped, the customer can request to cancel the order entirely, thus the total cost of the order including shipping and handling cost will be fully refunded.


